Insights · Branding
How to Design Product Packaging: A Step-by-Step Guide
Good packaging does three jobs at once. It stops someone on the shelf or scrolling past, tells them quickly what the product is and why it’s for them, and carries the legal and practical information the product needs. Here are the steps we follow when we take on a packaging design project.
1. Start with a clear brief
Before any design, agree on the basics:
- Who is the buyer, and what do they care about when choosing in your category?
- Where will it be sold: grocery, specialty retail, online, subscription, or all of these?
- What has to come across in the first few seconds: the brand, the product, the flavour or variant, one key benefit?
- How many products, sizes and flavours are there now, and what’s coming later?
- What’s the budget per unit, and which printing methods and materials are realistic?
2. Research the shelf
Look at your category the way a shopper does. Photograph competitors on the shelf and online, at real size and from a few metres away. Note the colours, shapes and cues everyone uses, then decide which conventions help shoppers find you and where standing apart will get you noticed.
3. Get the dieline and materials from your manufacturer
Ask your manufacturer or printer for the dieline: the flat template that shows the exact cuts, folds, glue areas and safe zones. Confirm the material, finish and print method too, because they affect colours and what’s possible with foils or varnishes. Our guide to what a dieline is covers the details.
4. Set the hierarchy
Decide the order people should notice things in. Usually that’s the brand, then the product name and variant, then one key claim, then the rest. If everything shouts, nothing gets read. For a range, define what stays the same on every pack (logo placement, type, layout) and what changes (colour, illustration, photography) so shoppers can tell variants apart instantly.
5. Plan the mandatory information, in both languages
In Canada, most prepackaged consumer products have to show their mandatory information in English and French. For non-food products that’s set out in the Consumer Packaging and Labelling Regulations; for food, see CFIA’s bilingual food labelling guidance. Nutrition tables, ingredient lists, net quantity, dealer identity and barcodes all need space, and French usually runs longer than English.
Your regulatory content should come from you, your manufacturer or a regulatory consultant, because it depends on your product and claims. Plan room for it from the first sketch so it isn’t squeezed in at the end.
6. Design concepts, then refine one
Explore a few distinct directions on the real dieline, not just the front panel in isolation. Review them at actual size, on screen and printed, and next to competitors. Pick one direction and refine it across every panel and, for a range, across every variant.
7. Mock it up and test it
Print the artwork at full size, cut and fold it around the real product, and look at it on a shelf or a table from a few metres away. Check that nothing important lands on a fold, that barcodes scan, and that the type is readable. Fix issues now; they cost far less than a reprint.
8. Prepare press-ready files and check the proof
Final files go to the printer to their specifications: colour profiles, bleed, spot colours, and separate layers for varnish, foil or white ink. Review the printer’s proof carefully, and for large or colour-critical runs, consider a press check.
01Packaging · Labels and unboxing
Packaging that does a job
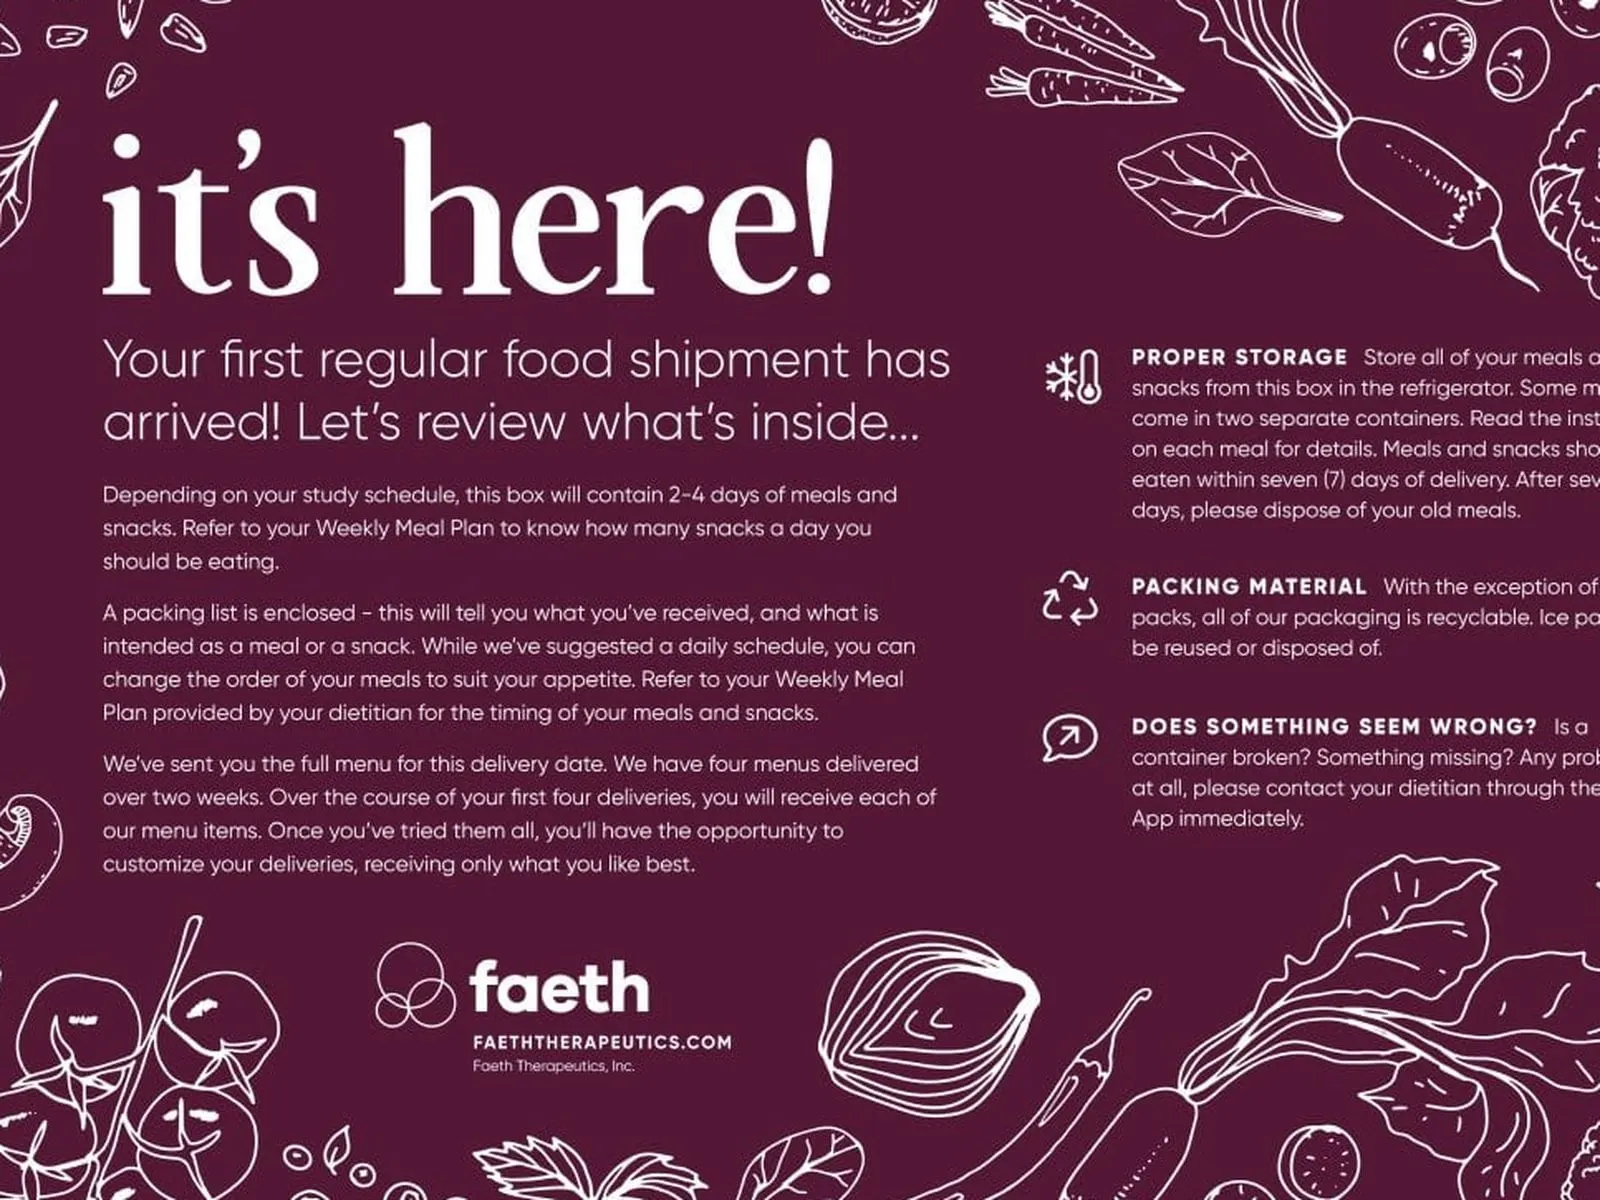
For Faeth Therapeutics we designed meal labels, packaging and an unboxing insert for their food deliveries. A system like that has to stay consistent across every label while carrying the specific information each delivery needs.
02Branding · Packaging
A heritage product, made premium
Kunaferia brings Syrian kunafa, a heritage dessert, into a modern, premium setting. We created the branding, the packaging and a full brand guide, so the packaging grows from a clear brand rather than being designed in isolation.
More on packaging design
Guides from our packaging work, plus the service itself.
Ready to build something worth envying?
Frequently asked questions
What are the steps to design product packaging?
Write a clear brief, research the shelf, get the dieline and materials from your manufacturer, set the hierarchy, plan mandatory information, design and refine concepts, test printed mockups with the real product, then prepare press-ready files and check the proof.
Does packaging in Canada need to be bilingual?
For most prepackaged consumer products, including food, the mandatory information has to appear in English and French. Check the rules for your product with the Competition Bureau (non-food) or the CFIA (food), or a regulatory consultant.
How long does packaging design take?
It depends on the number of products and whether brand work comes first. A single product usually takes several weeks from brief to press-ready files; a full range or a new brand takes longer.
Who provides the nutrition table and legal copy?
You do, with your manufacturer or a regulatory consultant, because it depends on your product, ingredients and claims. The designer lays it out accurately in the space planned for it.
Have a product that deserves better packaging?
Keep reading